
How to Connect SiteGiant ERP to AutoCount and Confirm the Connection
Implementation steps, settings and original screenshots from the SiteGiant ERP–AutoCount integration guide.
Questions to Ask the Client
- Which SiteGiant store should connect to which AutoCount company?
- Can the client access SiteGiant ERP → Settings → API?
- Is the approved Unicart+ plugin already installed in AutoCount?
Before you begin
Confirm these three items:
- Which SiteGiant ERP store should connect to which AutoCount company?
- Can an authorised user open SiteGiant ERP → Settings → API?
- Is the approved Unicart+ plugin installed in the intended AutoCount company?
Use an authorised account for the initial connection. Never share your SiteGiant Secret Key in emails, public screenshots or support posts.
Recommended Flow
Confirm Store & AutoCount Company → Get Store Email & Secret Key → Open Unicart+ → Get Token → Test Connection → Save
Step-by-step: connect the two systems
Confirm the correct SiteGiant store and AutoCount company
Identify the SiteGiant ERP store that will exchange data with the specific AutoCount company. Do not continue if either system is unclear.
Check that Unicart+ is available
Open AutoCount and check whether Unicart+ is available. If it is missing, an administrator can open Tools → Plug-In Manager, install or update the approved Unicart+ plugin and restart AutoCount.
Get the SiteGiant connection details
- Log in to the correct SiteGiant ERP store.
- Open Settings → API.
- Copy the Store Email and Secret Key exactly, without extra spaces.
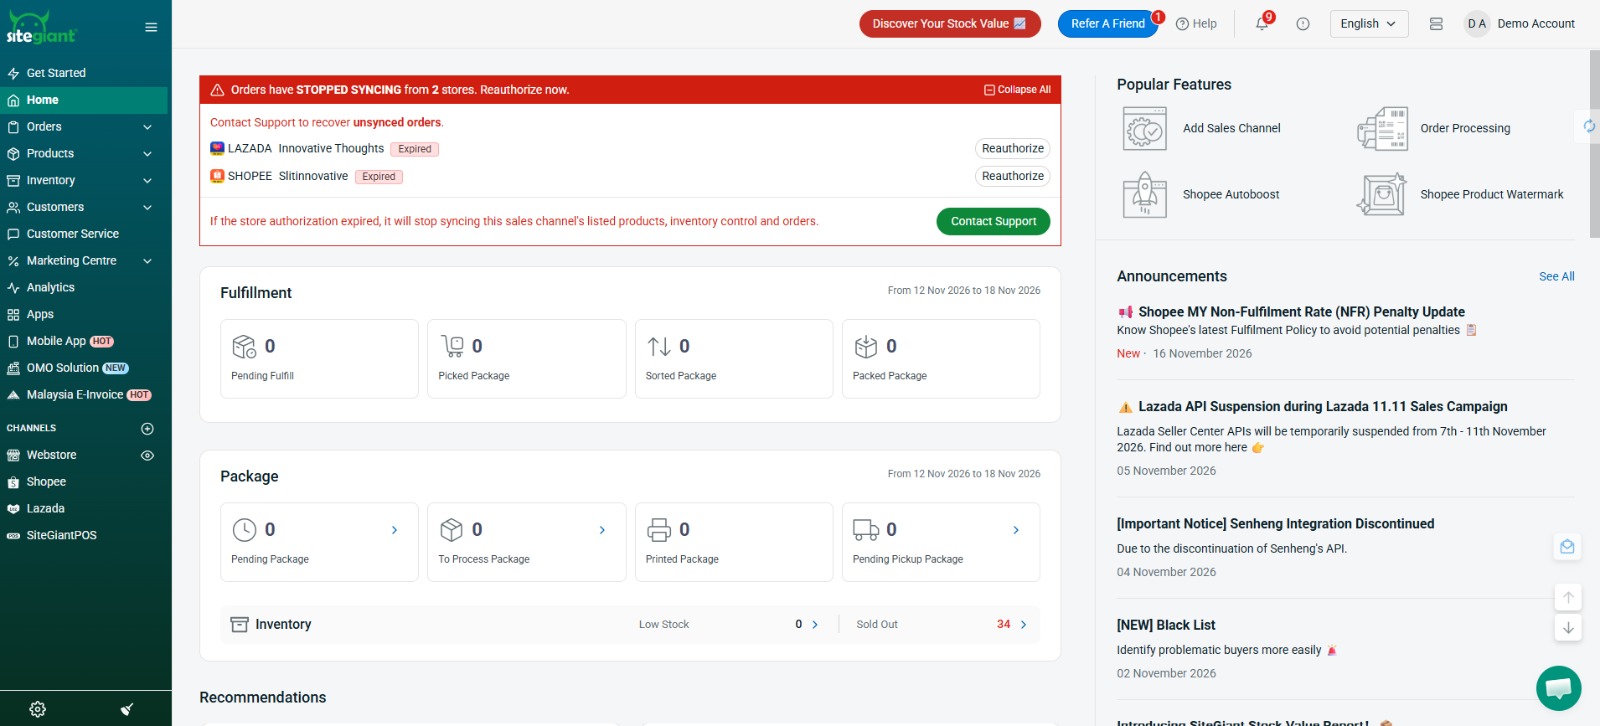
Follow these three SiteGiant screens in order
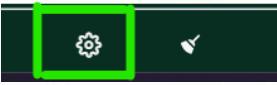
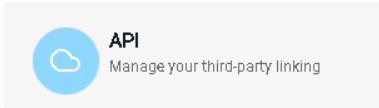

Enter the details in Unicart+
- Open the intended AutoCount company.
- Go to Unicart+ → Server Settings.
- Enter the Store Email and Secret Key from SiteGiant.
- Click Get Token.
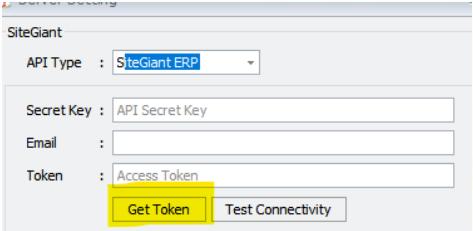
Test the connection and save
- Click Test Connectivity.
- Confirm that the connection test succeeds.
- Click Save.
Expected result: The connection between the intended AutoCount company and SiteGiant store is confirmed.
Important: If Test Connectivity fails, resolve the connection issue before proceeding to product mapping, stock synchronization or order posting.
Important Note — Unicart+ Trial Usage Limit
The Unicart+ trial has a maximum cumulative limit of 1,000 usage counts.
The count may include:
- Posted invoices
- Applicable Excel imports
- Stock synchronization
Once the limit is reached, the client must complete the required full payment before the full Unicart+ licence can be loaded and further processing can continue.
Troubleshooting / Common Errors
Unicart+ is not shown in AutoCount
Confirm plugin installation, approved version and user access rights. Restart AutoCount after installation.
Get Token fails
Recheck the Store Email and Secret Key, remove any extra spaces and confirm that both details belong to the intended SiteGiant store.
Test Connectivity fails
Check the internet connection, SiteGiant account access and entered credentials. Obtain the token again and repeat the test.
The connection is to the wrong store or company
Stop configuration and reconnect the intended SiteGiant store inside the correct AutoCount company.
Connection succeeds, but items and orders do not appear
Connection testing confirms communication only. Product Mapping, Stock Sync and Order Sync are separate setup stages.